At some point in every project, someone asks “how hard would it be to add X?” The answer to that question is a direct measurement of how well the codebase was designed.
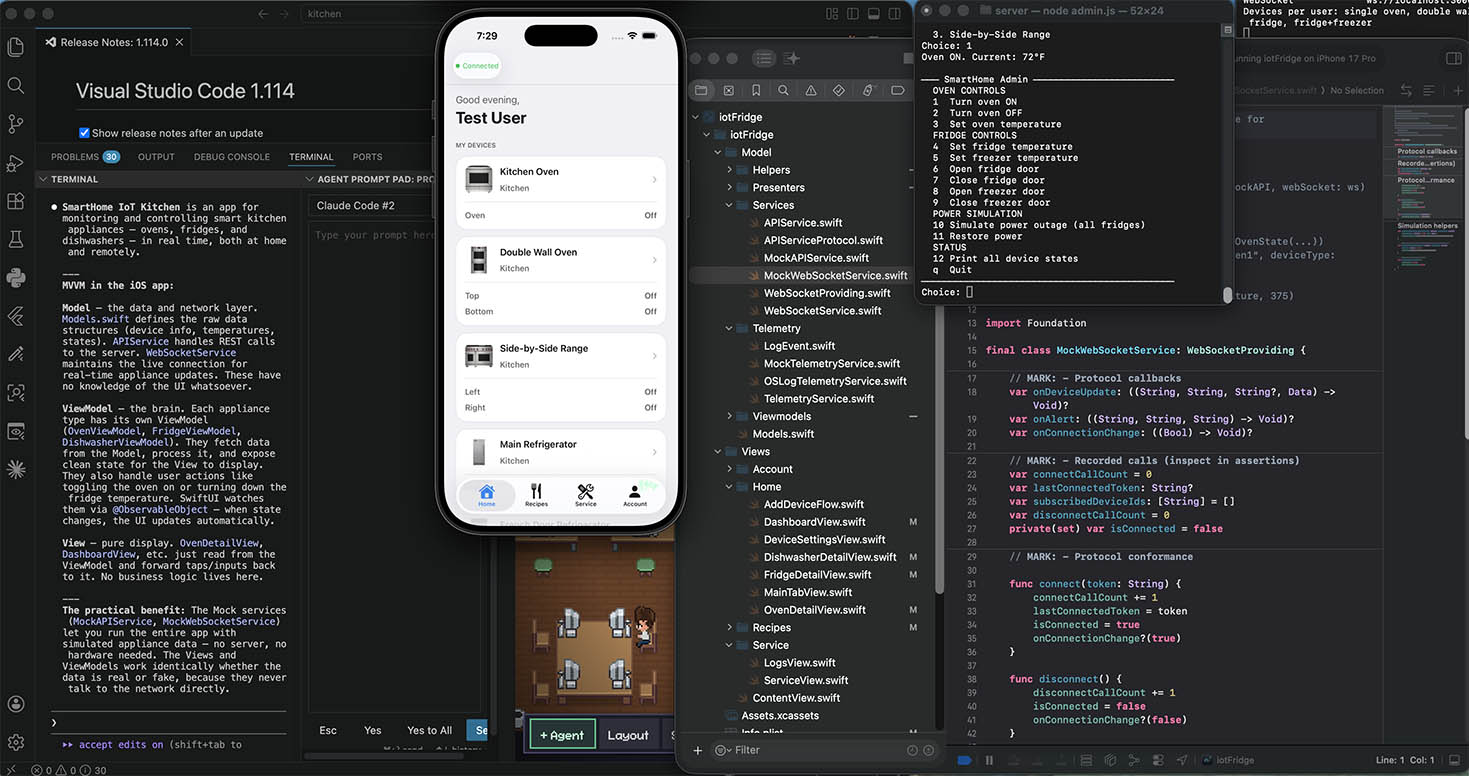
Take the Smart Kitchen app for example. In a tightly coupled, monolithic app, adding a new feature would have meant digging through one enormous class, figuring out which parts are safe to touch, and hoping you don’t break the oven while adding the ice maker to the refrigerator. There are no clear seams. Every change is a risk.
In a well-architected app, the question “how hard would it be to add X?” has a satisfying answer: you follow the existing pattern, fill in the pieces the architecture expects, and the rest snaps into place. The work is real — you still have to write new device code — but it’s directed work with no guesswork about what goes where.
This is the payoff of everything in the previous lessons: MVVM, dependency injection, the coordinator pattern, protocols, presenters. Each decision that felt like overhead at the time makes the next change faster and safer.
Let’s walk through adding a completely new device type — an ice maker — and also look at smaller changes like adding a new oven mode or dishwasher cycle.
A well-layered architecture gives every new feature a clear address. When you’re adding a new device type, you move through the same layers in the same order every time:
- Model — define the data shape
- Protocol — declare what the API can do with it
- Service — implement the real and mock API calls
- ViewModel — manage state and commands
- Coordinator — wire the child into the existing system
- Telemetry — define what events are worth logging
- Presenter — pure formatting and business logic
- View — the UI
Each layer has one job. You don’t have to reason about all of them at once. And because each layer is tested independently, you can be confident that adding the ice maker hasn’t accidentally changed how the oven works.
Smaller changes — a new cooking mode, a new dishwasher cycle — are even simpler. The architecture has already localised them to a single file.
Small change: Adding a new oven cooking mode
The entire oven mode list lives in OvenPresenter.swift. Adding “Steam” requires changing exactly one array:
// OvenPresenter.swift
static let modes: [(key: String, label: String, icon: String)] = [
    ("bake",          "Bake",         "flame"),
    ("roast",         "Roast",        "fork.knife"),
    ("broil_high",    "Broil High",   "bolt.fill"),
    ("broil_low",     "Broil Low",    "bolt"),
    ("convect",       "Convect",      "wind"),
    ("convect_broil", "Conv Broil",   "wind"),
    ("warm",          "Warm",         "thermometer.low"),
    ("air_fry",       "Air Fry",      "tornado"),
    ("steam",         "Steam",        "humidity"),   // ← new entry
]
That’s it. The mode grid in OvenDetailView iterates over OvenPresenter.modes — it gains the new tile automatically. The server just needs to accept "steam" as a valid mode value. No other files change.
Small change: Adding a new dishwasher cycle
Same pattern. Add one entry to DishwasherPresenter.cycles:
// DishwasherPresenter.swift
static let cycles: [(key: String, label: String, icon: String)] = [
    ("normal",       "Normal",       "sparkles"),
    ("speed_wash",   "Speed\nWash",  "bolt"),
    ("heavy",        "Heavy",        "hammer"),
    ("extra_rinse",  "Extra\nRinse", "drop"),
    ("sanitize",     "Sanitize",     "shield"),
    ("eco",          "Eco",          "leaf"),
    ("rinse_only",   "Rinse\nOnly",  "drop.triangle"),
    ("pots_pans",    "Pots &\nPans", "frying.pan"),
    ("delicate",     "Delicate",     "wind"),   // ← new entry
]
The cycle grid, the start button label, and the dashboard status string all pick it up automatically.
Large change: Adding a new device type — Ice Maker
Here’s the full walkthrough, layer by layer.
Step 1 — Define the data model
Add IceMakerState to Models.swift:
struct IceMakerState: Codable {
    var isOn: Bool
    var productionRate: String   // "low", "medium", "high"
    var binLevel: Int            // 0–100%
    var isBinFull: Bool
    var lastUpdated: String
}
Also add isIceMakerType to DeviceInfo so the rest of the app can route it correctly:
var isIceMakerType: Bool { type == "ice_maker" }Step 2 — Extend the API protocol
Add the new methods to APIServiceProtocol.swift. The protocol is the contract — every method you declare here must be implemented by both APIService and MockAPIService:
protocol APIServiceProtocol: AnyObject {
    // ... existing methods ...
    func getIceMakerState(deviceId: String) async throws -> IceMakerState
    func setIceMakerPower(deviceId: String, isOn: Bool) async throws -> IceMakerState
    func setProductionRate(deviceId: String, rate: String) async throws -> IceMakerState
}
Step 3 — Implement in APIService and MockAPIService
APIService.swift adds the real network calls:
func getIceMakerState(deviceId: String) async throws -> IceMakerState {
    try await get("/devices/\(deviceId)/icemaker")
}

func setIceMakerPower(deviceId: String, isOn: Bool) async throws -> IceMakerState {
    try await post("/devices/\(deviceId)/icemaker/power", body: ["isOn": isOn])
}
MockAPIService.swift adds stubbable results and call recorders — no logic, just hooks for tests:
var getIceMakerStateResult: Result<IceMakerState, Error> = .success(.defaultIceMakerState)
var setIceMakerPowerCalls: [(deviceId: String, isOn: Bool)] = []

func setIceMakerPower(deviceId: String, isOn: Bool) async throws -> IceMakerState {
    setIceMakerPowerCalls.append((deviceId, isOn))
    return try setIceMakerPowerResult.get()
}
Step 4 — Write the ViewModel
Create IceMakerViewModel.swift. It follows the exact same shape as OvenViewModel, FridgeViewModel, and DishwasherViewModel:
@MainActor
final class IceMakerViewModel: ObservableObject {
    @Published var iceMakerStates: [String: IceMakerState] = [:]
    @Published var error: AppError?

    private let api: APIServiceProtocol
    private let telemetry: TelemetryService

    init(api: APIServiceProtocol, telemetry: TelemetryService = OSLogTelemetryService.shared) {
        self.api = api
        self.telemetry = telemetry
    }

    func fetchInitialState(for device: DeviceInfo) async {
        guard device.isIceMakerType else { return }
        do {
            iceMakerStates[device.id] = try await api.getIceMakerState(deviceId: device.id)
        } catch { /* silently skip */ }
    }

    func toggleIceMaker(deviceId: String) async {
        let current = iceMakerStates[deviceId]?.isOn ?? false
        do {
            iceMakerStates[deviceId] = try await api.setIceMakerPower(deviceId: deviceId, isOn: !current)
            telemetry.record(.iceMakerPowerChanged(deviceId: deviceId, isOn: !current))
        } catch {
            let appError = AppError.from(error)
            self.error = appError
            telemetry.record(.commandFailed(command: "toggleIceMaker", deviceId: deviceId, error: appError))
        }
    }

    func applyUpdate(deviceId: String, data: Data) {
        guard let state = try? JSONDecoder().decode(IceMakerState.self, from: data) else { return }
        let previous = iceMakerStates[deviceId]
        iceMakerStates[deviceId] = state
        if let previous, !previous.isBinFull && state.isBinFull {
            telemetry.record(.iceBinFull(deviceId: deviceId))
        }
    }
}
Step 5 — Wire into the coordinator
DeviceViewModel.swift gets a new child ViewModel. The changes are minimal and follow the exact pattern of the existing three children:
// Add the child
let iceMakerVM: IceMakerViewModel

// Create it in init
self.iceMakerVM = IceMakerViewModel(api: api, telemetry: telemetry)

// Forward objectWillChange
iceMakerVM.objectWillChange
    .sink { [weak self] in self?.objectWillChange.send() }
    .store(in: &cancellables)

// Merge its errors
Publishers.MergeMany(
    ovenVM.$error.compactMap { $0 },
    fridgeVM.$error.compactMap { $0 },
    dishwasherVM.$error.compactMap { $0 },
    iceMakerVM.$error.compactMap { $0 }   // ← add this line
)

// Expose its state
var iceMakerStates: [String: IceMakerState] { iceMakerVM.iceMakerStates }

// Route fetchInitialState
} else if device.isIceMakerType {
    await iceMakerVM.fetchInitialState(for: device)
}

// Route WebSocket updates
case "ice_maker":
    self?.iceMakerVM.applyUpdate(deviceId: deviceId, data: data)
Step 6 — Add telemetry events
Two new cases in LogEvent.swift:
case iceMakerPowerChanged(deviceId: String, isOn: Bool)
case iceBinFull(deviceId: String)
Add the corresponding cases to OSLogTelemetryService.swift:
case .iceMakerPowerChanged(let deviceId, let isOn):
    deviceLogger.info("Ice maker \(isOn ? "ON" : "OFF") — device=\(deviceId)")

case .iceBinFull(let deviceId):
    deviceLogger.notice("Ice bin full — device=\(deviceId)")
The Swift compiler will tell you if you forgot to handle new enum cases in the switch — a compile error that prevents shipping unhandled events.
Step 7 — Add a Presenter
Create IceMakerPresenter.swift for any formatting logic that shouldn’t live in the view:
enum IceMakerPresenter {
    static let productionRates: [(key: String, label: String)] = [
        ("low",    "Low"),
        ("medium", "Medium"),
        ("high",   "High"),
    ]

    static func binLevelLabel(_ level: Int) -> String {
        switch level {
        case 0..<25:  return "Low"
        case 25..<75: return "Medium"
        default:      return "Full"
        }
    }

    static func dashboardStatus(for state: IceMakerState) -> String {
        guard state.isOn else { return "Off" }
        return state.isBinFull ? "Bin Full" : "Making Ice"
    }
}
Step 8 — Build the View
Create IceMakerDetailView.swift and add a list row to DashboardView.swift. The dashboard router just needs one new branch:
} else if device.isIceMakerType {
    NavigationLink(destination: IceMakerDetailView(device: device).environmentObject(devices)) {
        IceMakerListRow(device: device, iceMakerStates: devices.iceMakerStates)
    }
}
Step 9 — Update the server
Add state storage, a simulation loop entry, and REST routes in server.js. This follows the same pattern as the existing oven, fridge, and dishwasher routes:
const iceMakerStates = new Map();

// In createDevicesForUser:
iceMakerStates.set(iceMakerId, {
    isOn: true, productionRate: "medium",
    binLevel: 50, isBinFull: false,
    lastUpdated: new Date().toISOString()
});

// In the simulation loop:
iceMakerStates.forEach(function(s, key) {
    if (s.isOn && !s.isBinFull) {
        s.binLevel = Math.min(100, s.binLevel + 1);
        s.isBinFull = s.binLevel >= 100;
    }
    broadcastState(key, "ice_maker", s, null);
});

// REST routes
app.get("/devices/:id/icemaker", authMiddleware, ...);
app.post("/devices/:id/icemaker/power", authMiddleware, ...);
What the architecture made easy
Look at what you didn’t have to do:
- You didn’t touch any existing ViewModel. The oven, fridge, and dishwasher work identically after adding the ice maker.
- You didn’t rewrite any views. The dashboard router added one branch.
- The test infrastructure was already there.
MockAPIServiceextended naturally.MockTelemetryServiceworks with the new events immediately. - The compiler caught every place you needed to handle the new
LogEventcases.
This is what architecture is for. Not abstraction for its own sake — but making the tenth feature as straightforward to add as the first.
We hope you enjoyed these 10 lessons. Happy coding!
Leave a Reply
You must be logged in to post a comment.